Mom started cleaning up the new babies room, painting each wall a different pastel - green, yellow, pink and purple.


She stenciled little butterflies around the whole room. The ceiling was painted light blue, with puffy white clouds - with one special cloud shaped like a heart. That heart would be right above the babies crib.

Little butterflies hung from the ceiling by little wires and thumb tacks. The most adorable fan was hung from the ceiling. Anyone who saw the room was in awe of how cute and fresh it was. It was genuinely the perfect fairytale room for our new baby girl. I may have shed some tears when it came time to paint over this heart. Okay, I cried. I tried to get Austin to do it for me but he declined.

You may remember this picture from the previous post - but I wanted to share it with you again so you can see how her cute dresser matched the whole color scheme of the bedroom.

I chose to go simple and paint the walls a very light grey and keep the trim a crisp white.
 Here you can see the painted walls (we haven't switched out the ceiling fan yet...) And, because this happened over summer break, I had LOADS of help from the littles. And Sophie... She decided to paint
 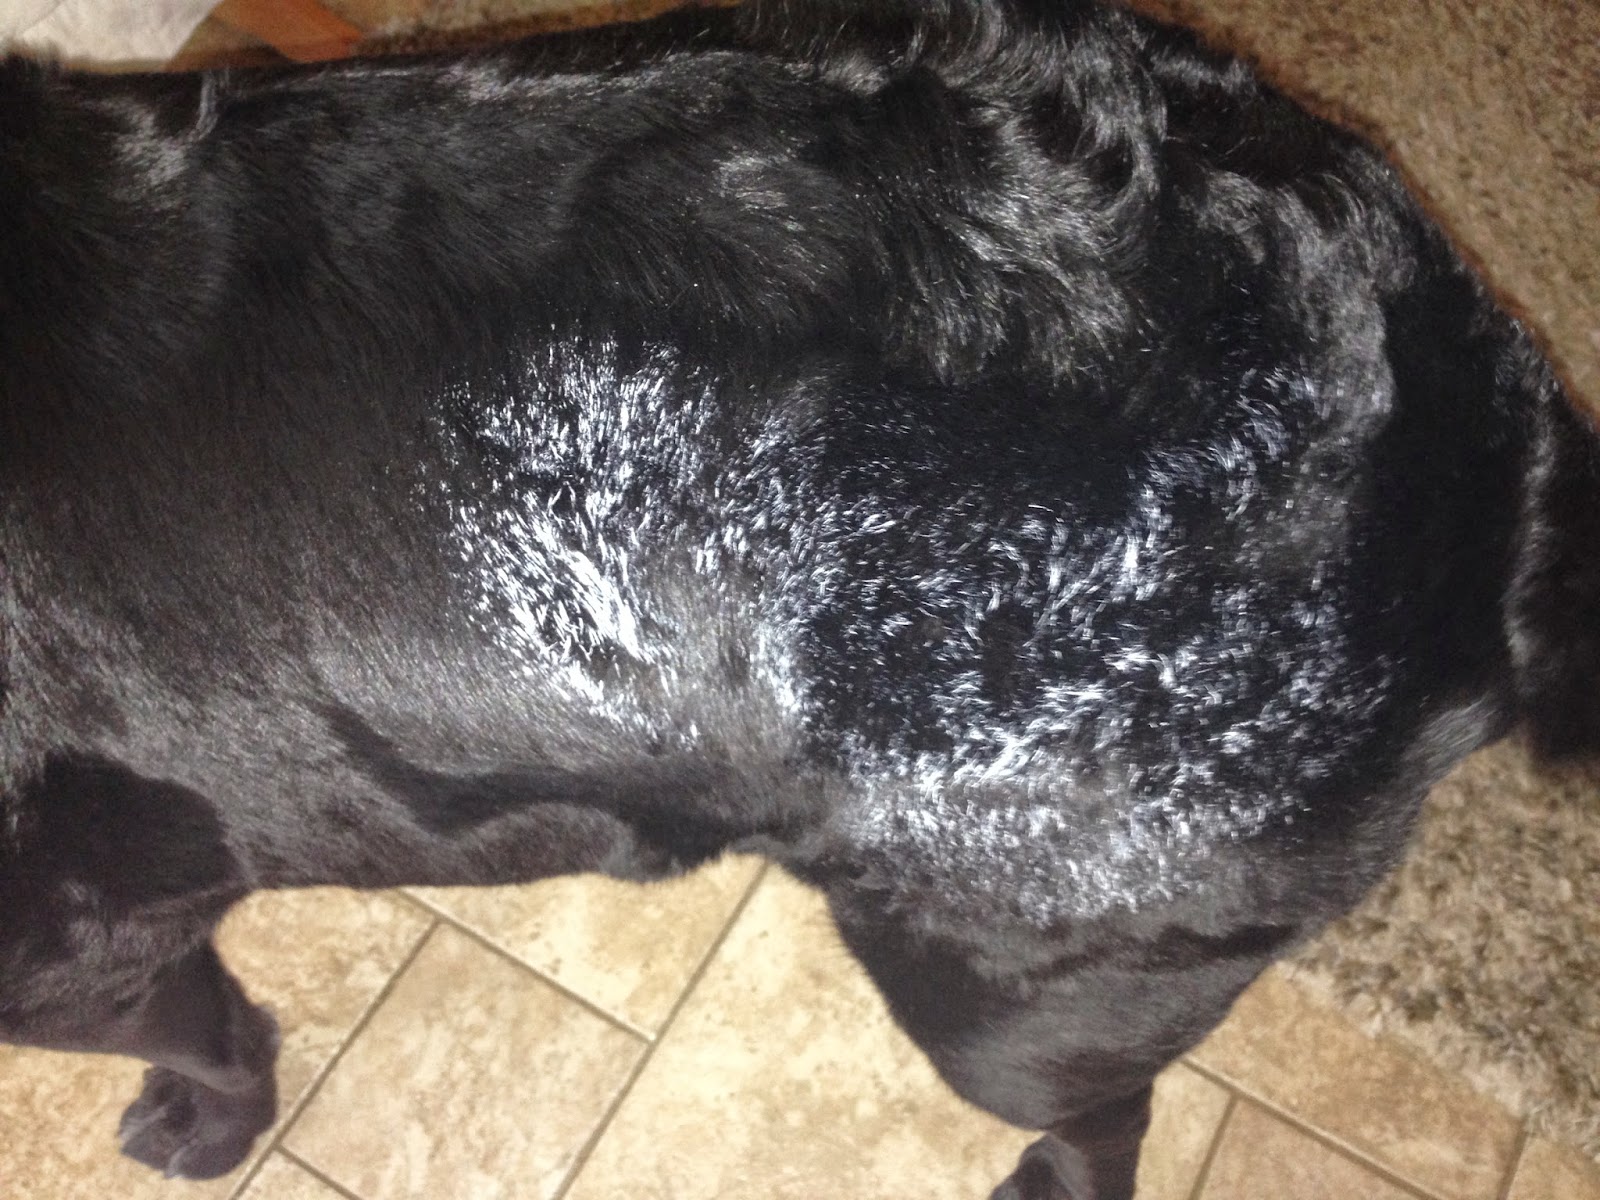 the wall with her rear end. Silly puppy. Now if you've been keeping up with my posts, you will know that it is impossible for me to do anything without getting hurt. This time is ridiculous. You see, my left side is still numb - and it's super funky. So one day I stood up and took a few steps and BAM! The worst pain started throbbing in my foot. Apparently I was ready to move, but no one told the muscles in my foot that we were getting up and moving. After a day or two of dealing with the throbbing pain I decided to go to urgent care and get an x-ray. Of course I had to take the littles with me, but they're super good kids and are pretty well behaved. Check out my awesome parenting in this picture. They say a picture says a thousand words - well, this one speaks volumes... of minecraft...
 Here they are, my handsome boys waiting so patiently while I get my foot checked out. They were like that the entire time. I could have left for hours and they would still be like that - not even knowing I was gone. Oh wait - that's not true because they'd need to charge their phones... and then despair would set in and their worlds would end tragically. Stupid game. But first - my foot wasn't broken, but I was sent home with this horrible shoe...
Honestly - first the nurse tried to give me one that was GINORMOUS. So I asked for a smaller shoe. She came back with the smaller size, which was a child size and she told me it wouldn't fit properly. Well, I tried it on and it's too big as well. But whatever - this is what I got. Just think - Me, the tripper onner of all things I could possibly trip on in a funky square toed shoe... Folks - this shoe was NOT a good idea. I'll just leave it at that. And tell you that I wore it for approximately 2 hours total. I just kept my foot elevated as much as I could (you know, between painting the guest room and doing mom stuff) and sucked up the pain. Eye roll.
Okay - back to the guest room! While painting the doors white, I got bored and decided to jazz it up a bit. I taped off the rectangles in the middle of the doors and painted them grey like the walls and the rest of the door white. First I painted the actual bedroom door because it's open most of the time, and if it came out horrible it wouldn't really show much...

 At the same time, Roo was kitty sitting Darth Claudious - my grandkittybaby for her older brother and his wife. They gave a big high five on how the guest room turned out! Kitty also loved to watch me paint. That roller was highly entertaining for this little cutie!
 As you can see, the door turned out fantastic - so fantastic that I went ahead and did the closet doors to match.


My antique sewing machine lives in the guest room so I shined it up and put a lace runner on top to help protect it from anything being put on top of it. Then I found this vase in a cupboard, the flowers at walmart and I filled up the bottom of the vase with some clear bead/gem/pebble things I had just waiting for a project. The mirror we got years ago for free. It used to have a dark wood finish on it (and it used to hang in the bathroom of my costume shop!). I painted it white and it matches great!

We chose to put the kids old dresser in the room so our guests could have somewhere to put their things. I also set up the old costume shop computer so guests could have Internet access. I moved framed pictures from other places in the house onto the shelves and I used the candles that previously lived in the living room as decor. At this point there wasn't any art on the walls. And this room needed some more color pronto!
Below is the art I chose to put in this spot. It looks a little squished right now because we had to move the dresser over a bit when Austin and I moved into the guest room after our bedroom was flooded... a whole nother blog post...
 Even squished, it's still cute.
 The beautiful peacock I just felt attached to when I saw it at the store. I was looking for something with more red in it - but I kept going back to this pretty bird. So I brought it home. I haven't named it yet - feel free to leave suggestions. ;) The star and the heart are above the head of the bed. They're super cute and have a nice message on them. I hope the crisp new paint and the warm messages on the walls help our guests feel comfy and welcome in our home. I'm happy with the way this room looks. I love the butterflies and clouds from the past, but that's why we take pictures - right?
 Another room done - get ready for the next because it's SO AMAZING I think you're gonna flip. Meanwhile, feel free to come visit and stay in our pretty new guest room! See for yourself how comfy it is!
If you enjoy this blog, please share it with your friends. I'd love to hear your comments as well!
I'll be back soon with the twins bedroom! You'll love it. I promise! TTFN!
Reb


